
Start your project
Download our templates and open the one in the format you need with Inkscape. The formats are P1 181 × 181 mm, P2 384 × 384 mm, P3 790 × 384 mm and P4 790 × 790 mm. Not all materials are available in all formats: availability is indicated in the data sheet for each material.
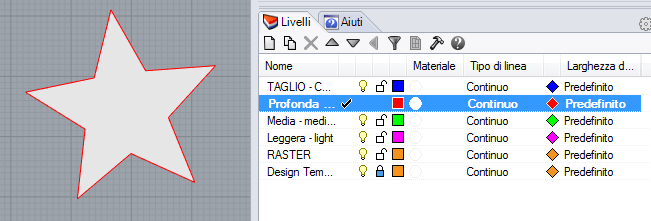
As in AutoCAD, here you don't set color and thickness on an object-by-object basis: you draw on the right layer and the template does the rest. Blue cuts, magenta cuts light, green medium, red deep, grays cut fill. The reasoning on how to set up a producible design lies in design tips.
How our templates work
Templates are in millimeters and in 1:1 scale, with the layers already set with the colors that the laser recognizes.
In the template, you'll find two orange rectangles: the outer one is the actual size of the plate, and the inner one is the usable area. All elements, cuts, and engravings must fit within the smaller perimeter.
The Design template layer is locked and it contains the template: you cannot insert elements into it and It should not be deleted before uploading. The orange lines are ignored by the laser and the estimate calculation, they serve as a reference and to confirm that the file is to scale.
Cutting lines
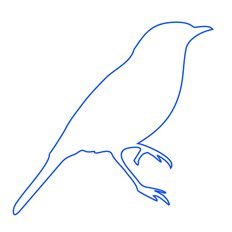
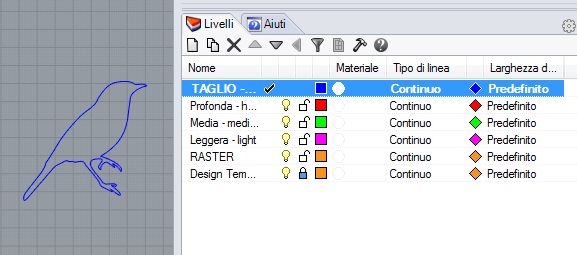
Draw lines and shapes on the CUTTING layer. The color is already set: blue RGB 0, 0, 255.
Vector engraving
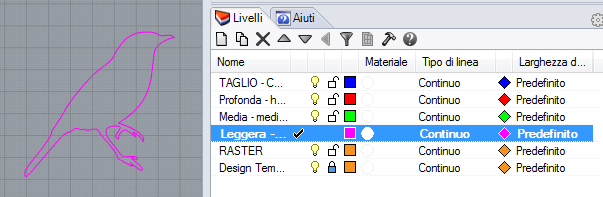
The same principle as cutting, but with a different color: the laser traces the line, engraving the surface instead of passing through the material. The three levels all have the same thin line, the intensity varies.
Light: layer LIGHT, magenta RGB 255, 0, 255
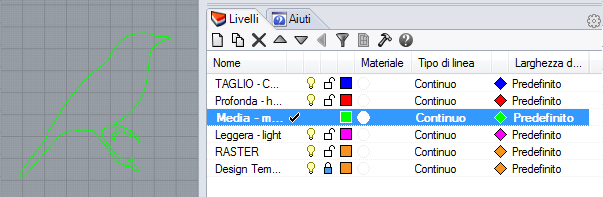
Media: MEDIA layer, green RGB 0, 255, 0
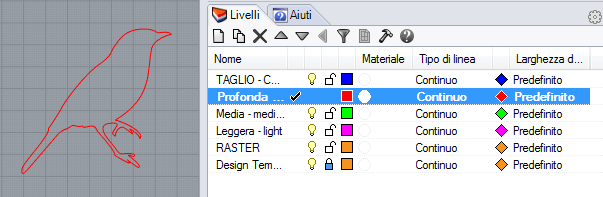
Deep: DEEP layer, red RGB 255, 0, 0
Raster engraving
Raster engraving is used for solid areas. For very fine details, the result depends on the material: if the detail is critical, ask us for a proof before production.
Depth depends on the gray: black is the strongest engraving, very light gray is the lightest, and white is no engraving at all. Any intermediate gray is fine as long as the three RGB values are the same. Use solid, flat fills, not patterns or textures. For a sharp edge around a raster area, combine the fill with a vector engraving stroke.
The Raster layer
The Raster layer has the orange stroke RGB 246, 146, 30, a color our system ignores: those lines aren't included in the estimate, and the laser doesn't execute them. They only serve to delimit the area to be filled.
Light Raster: RGB 230, 230, 230
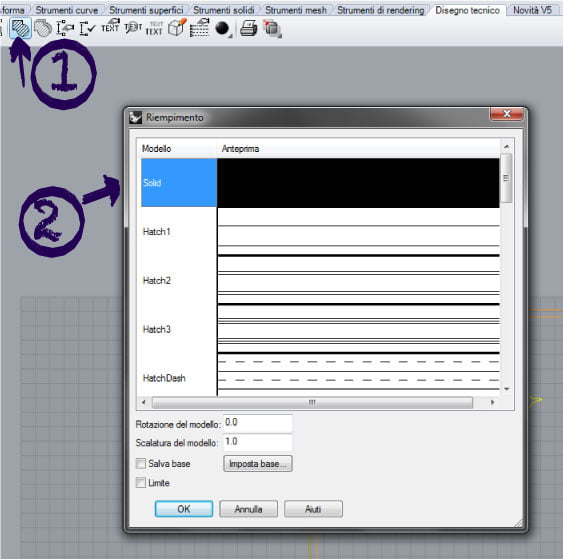
Draw a closed shape on the Raster layer, then use the command Filling (Hatch). The button is in the Technical Drawing palette, marked with a 1 in the screenshot, or type Fill in the command line. Select the shape to fill, choose the type Solid, which is the only one allowed because patterns are not good, and press Ok.
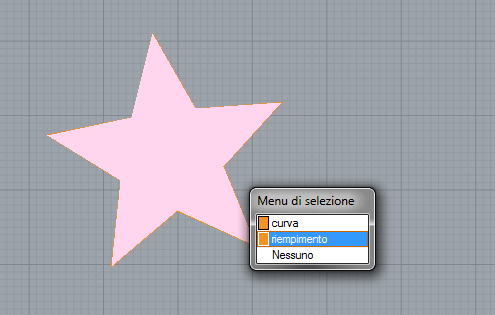
Now select the fill inside the shape, and just that: The orange contour lines must not be selected.
In the panel Object properties open the curtain Display color (Display color) and choose Other.
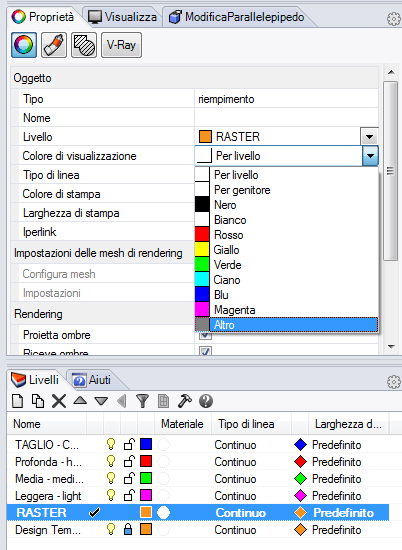
Enter RGB 230, 230, 230.
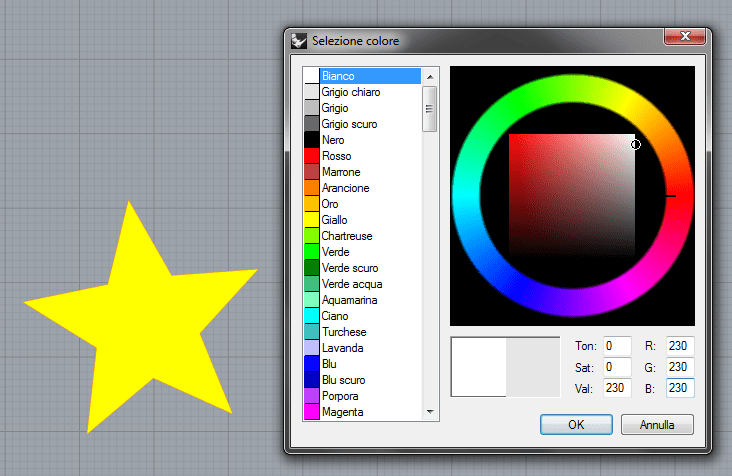
The shape is like this:
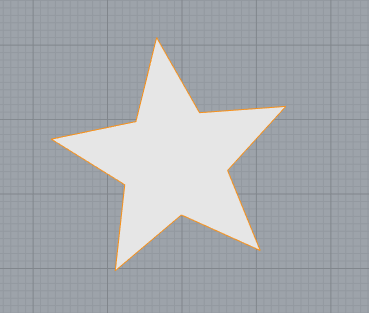
Raster media: RGB 128, 128, 128
Same procedure, with these values in the Display Color.
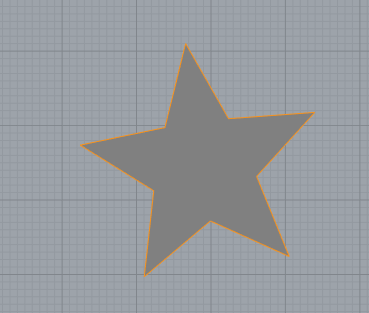
Deep Raster: RGB 0, 0, 0
Same procedure, choosing black.
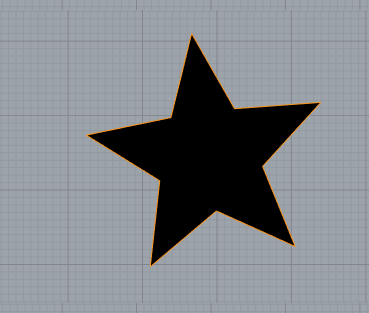
Raster and vector can be combined: the laser first engraves the area, then traces the outline. Simply match a solid fill with Hatch to an element on any layer. Here's a light gray fill on an element on the DEEP layer:
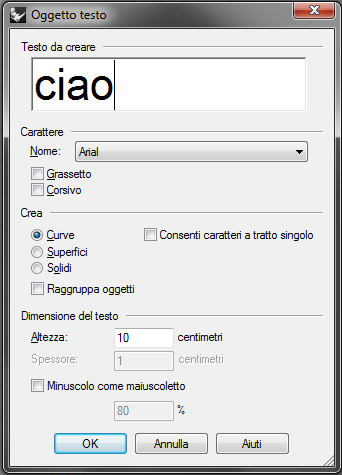
Text
The text must be created as a path, otherwise the laser will not follow it without the font installed. Use the tool Text object and select the option Curve.
As you move it from one layer to another, you can choose whether to engrave it as a fill, a line, or both.
Save the file
Do not delete the Design template layer Nor the orange outlines: these are the ones that confirm that the file is to scale. Also check that each element is on the correct layer.
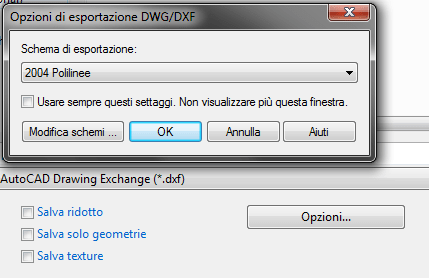
USA File> Save As (Save as), you choose Autocad Drawing Exchange (*.dxf), click on Options and as an export scheme choose DXF 2004 POLYLINES.
Done, you can upload the file
Or read the FAQ.