Start your project
Download our templates and open the one in the format you need with Inkscape. The formats are P1 181 × 181 mm, P2 384 × 384 mm, P3 790 × 384 mm and P4 790 × 790 mm. Not all materials are available in all formats: availability is indicated in the data sheet for each material.
It's the color of the trace that tells the laser what to do: blue cuts, magenta engraves lightly, green medium, red deep, grays engrave fill. The reasoning behind setting up a producible design lies in design tips.
How our templates work
Templates are in millimeters and in 1:1 scale.
In the template, you'll find two orange rectangles: the outer one is the actual size of the plate, and the inner one is the usable area. All elements, cuts, and engravings must fit within the smaller perimeter.
The Design Template layer is locked and it contains the template: you cannot insert elements into it and It should not be deleted before uploading. Draw on the layer Your Design. The orange lines are ignored by the laser and the estimate calculation, they serve as a reference and to confirm that the file is to scale.
Trace thickness
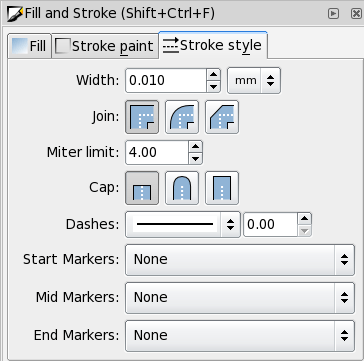
In Inkscape, the thickness must be set manually for cuts and engravings. Open Object> Fill and Stroke and in 'Stroke style' set 0.010 mm.
Cutting lines
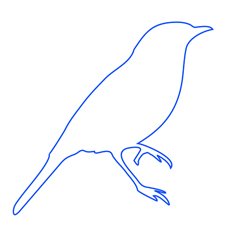
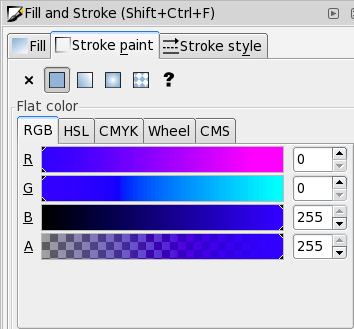
Draw a line or shape, then in Object> Fill and Stroke set the stroke color from 'Stroke paint' to blue RGBA 0, 0, 255, 255. The last value is the alpha and is always 255: the laser cannot see a transparent trace.
Vector engraving
The same principle as cutting, but with a different color: the laser traces the line, engraving the surface instead of passing through the material. The three levels all have the same thin line, the intensity varies.
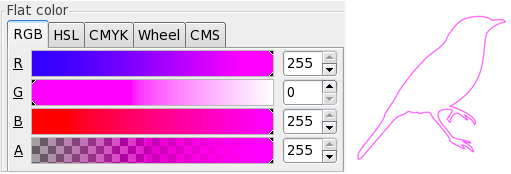
Light: magenta RGBA 255, 0, 255, 255
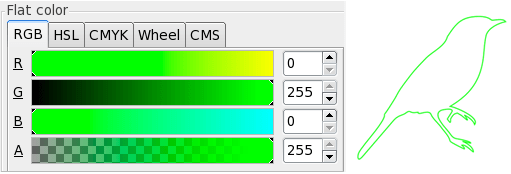
Average: Green RGBA 0.255, 0.255
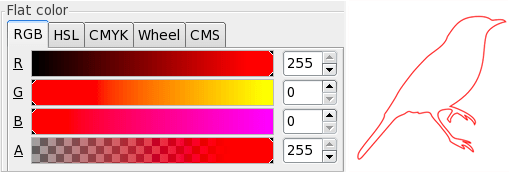
Deep: Red RGBA 255, 0, 0, 255
Raster engraving
Raster engraving is used for solid areas. For very fine details, the result depends on the material: if the detail is critical, ask us for a proof before production.
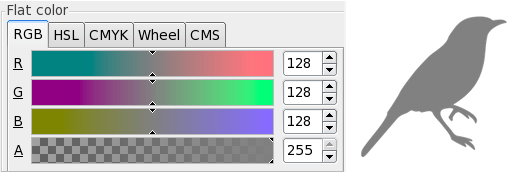
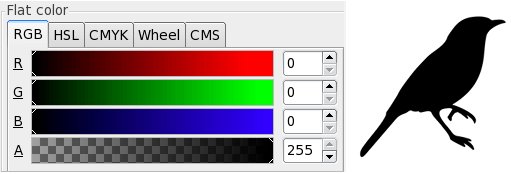
Depth depends on the gray: black is the strongest engraving, very light gray is the lightest, and white is no engraving at all. Any intermediate gray is fine as long as the three RGB values are the same. Use solid, flat fills, not patterns or textures. For a sharp edge around a raster area, combine the fill with a vector engraving stroke.
The values of the engraving depth are indicated in the "technical details" tab of each material in the catalog. Engravings do not vary based on material thickness, unless otherwise indicated in the product description.
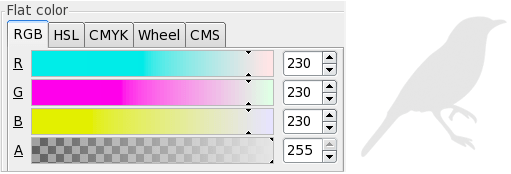
Light Raster: Light Gray RGBA 230, 230, 230, 255
Set the fill color from 'Fill' in Object> Fill and Stroke. Light raster engraving is entirely superficial: it alters the color of the material without going into depth.
Raster media: gray RGBA 128, 128, 128, 255
Deep Raster: Black RGBA 0, 0, 0, 255
Text
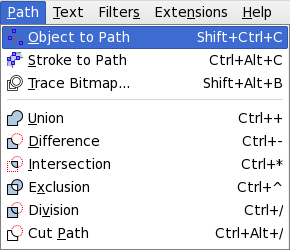
The text must be converted to paths, otherwise the laser won't follow it without the font installed. Select it and choose Path> Object to Path. After this command, the text is no longer editable, so do this after checking the spelling.
By giving it a fill or a stroke you choose whether to engrave it as a fill, a stroke, or both.
Images
Our system only reads vectors and ignores images inserted in other formats, such as .jpg or .bmp. If you want to use a non-vector image, you must trace it, and there's no need to do it manually.
Select the inserted image and open Path> Trace Bitmap. Experiment a bit until the traced shapes are a flat, uniform color.
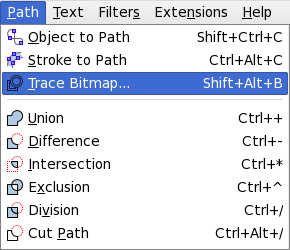
Close the window. The original image remains behind the traced one: select it and delete it.
Then click on the tracing with the 'Edit paths by nodes' tool. If the tracing worked, you'll see the vectors around the individual parts of the image.
Finally select all the traced elements and set in Object> Fill and Stroke the fill color of the raster engraving layer you need.
How to remove double lines
If you place two objects side by side, matching their edges, the cutting lines overlap. You can see it: a double line appears a darker blue than the others.
They must be eliminated to leave a single shared cutting line, otherwise the laser cuts the same part twice: this worsens the result on the material and increases the estimate.
Step 1: select one of the two adjacent objects and use Path> Object to Path.
Step 2: Select the 'Edit paths by nodes' tool:
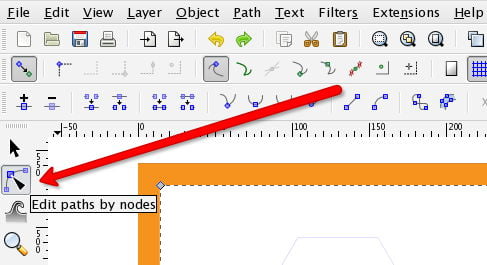
Step 3: Click on the object containing the double line and select a node at the end of the line to remove.
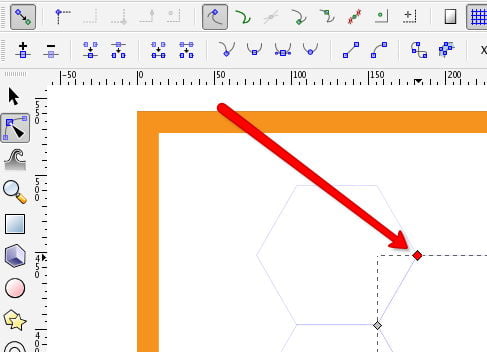
Step 4: With the node highlighted in dark gray, click the 'Break path at selected nodes' button:
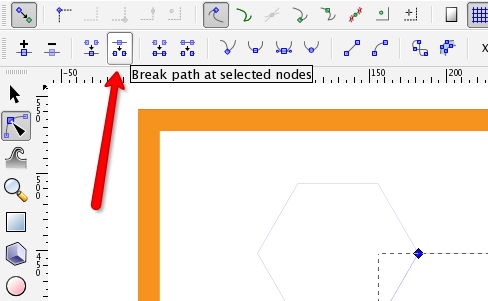
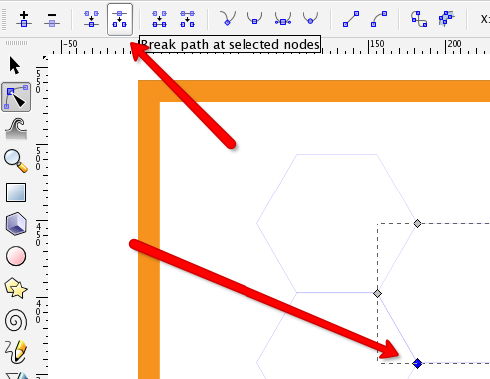
Step 5: Click on the node at the other end of the double line and use 'Break path at selected nodes' again.
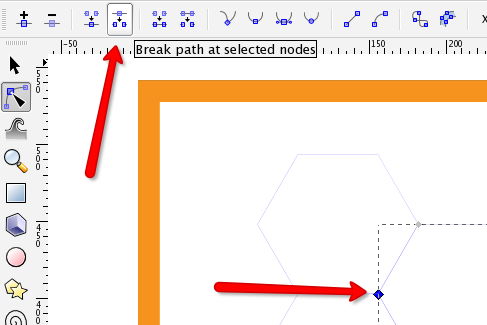
Step 6: Click the line between the two nodes, so that both are highlighted in dark gray and larger than the other nodes in the object, and press Backspace. The lighter blue line remains.
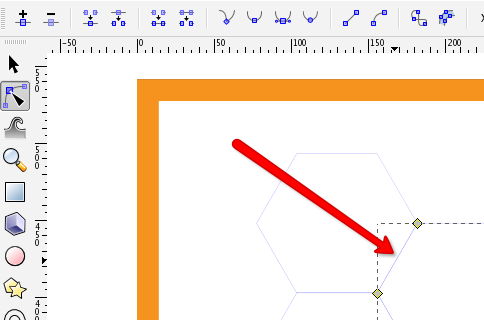
Step 7: select the nodes at the ends of the next line and repeat.
Export the file
Do not delete the Design Template layer nor the orange outlines: these are the ones that confirm that the file is to scale.
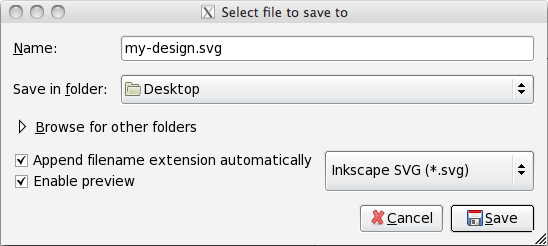
USA File> Save as and choose the format Inkscape SVG.
Done, you can upload the file
Or read the FAQ, or look at our video tutorialIn English made for the Jobs of the Future project